Working in Multiple Workspaces
When your organization has different products to offer with various user bases, and each product requires a unique set of product prioritization processes, use multiple workspaces.
Multiple workspaces will also come in handy when you are working with different organizations.
Using Chisel’s multiple workspace tools will give product managers a twofold benefit of the following:
- Team members can have access to data only for the products that are assigned to them
- Get a separate workspace to store product requests, ideas, and feedback
How to Access the Workspaces?
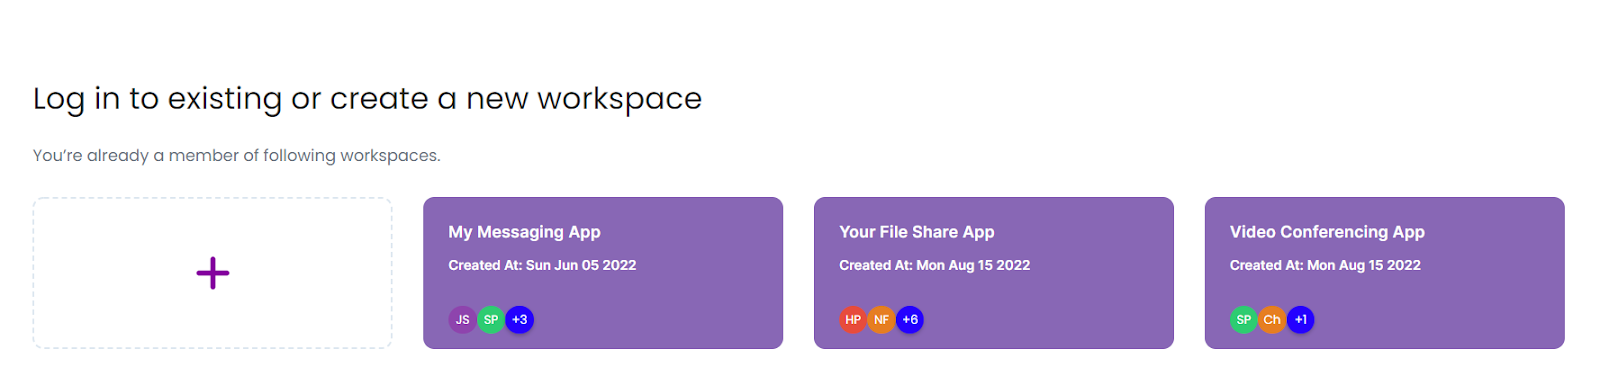
- To access the workspaces, first, log in to your Chisel account. On logging in, you will be brought to a screen with multiple workspaces you are a part of.
2. Log in to any of the workspaces.
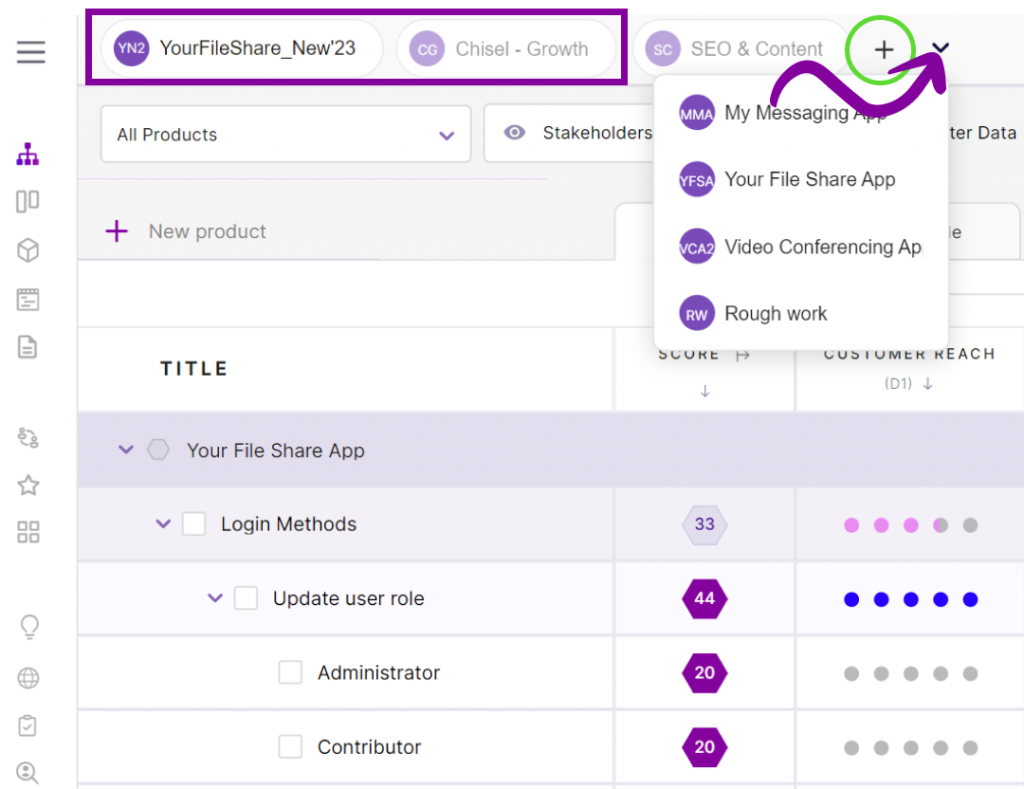
3. Once you are logged in, on the top-left corner of your workspace, you can view all the different workspaces you’re a part of.
4. Click on the workspace you wish to work on.
5. To view more workspaces, expand the icon next to your workspaces.
6. To switch from one workspace to another, click on the workspace name you want to switch to. You will be redirected to the workspace.
How To Create a New Workspace?
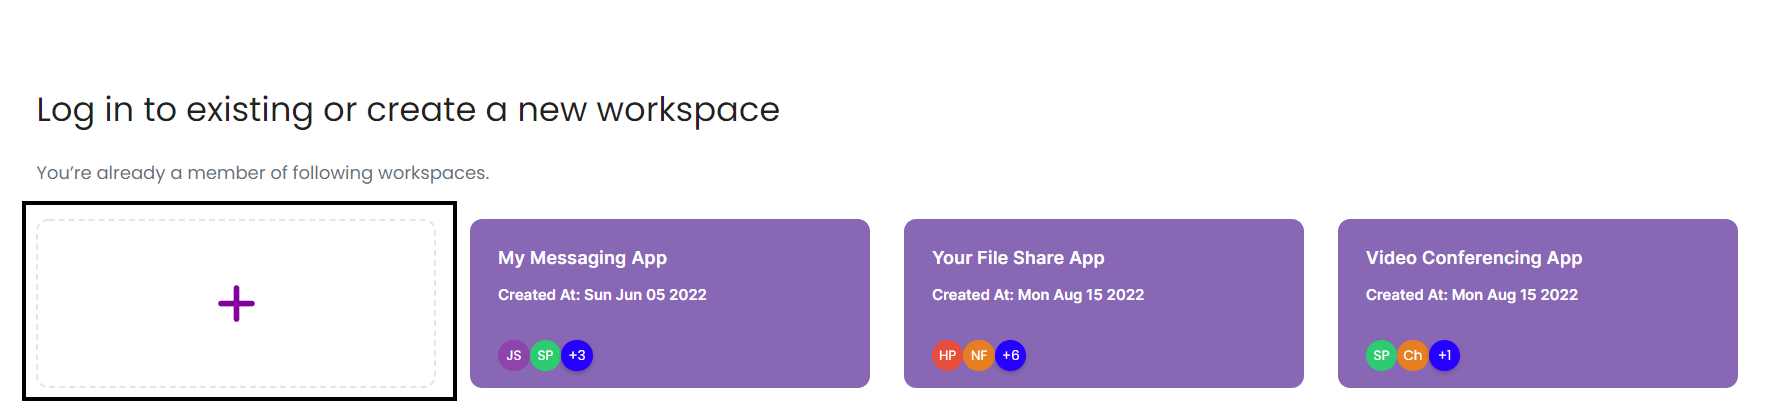
- To create a new workspace, go to the top-left corner of your workspace.
- Click on the ‘+’ icon, and a box with some details will appear.
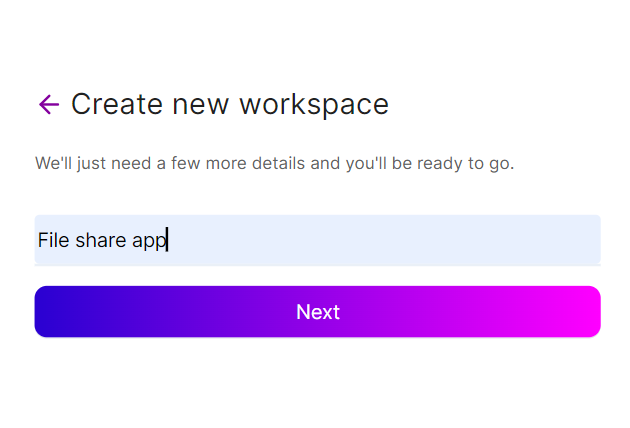
- Here, put your workspace name and click on the ‘Next’ button below.
You are now ready to craft amazing products in your new workspace!
*There is also an option for you to create a new workspace at the start of the login. Follow the similar process discussed above to craft your workspace.
How To Invite New Team Members to Workspaces?
If you want to be a part of some workspace, ask the concerned product manager to add you to their workspace.
Steps To Add a New Member to the Workspace
- Go to the ‘team settings’ button at the top-right corner of the workspace.

2. Here, click on the ‘Invite Team’ tab.
3. Add the email address of the teammate you want to invite and the user role(maker or contributor) they will have. Finally, hit the ‘Send Invite’ button.
The concerned member will receive an email wherein they can ‘Accept the invite.’
Welcome! Start working on your new workspace.
Related Articles