How to Use the Kanban Board View
This article covers:
Chisel’s kanban board allows teams to plan out what features are being worked on and when in an agile manner.
Once you add components and features through the treeview, working on them in the kanban view becomes simple.
Read about what kanban status refers to and how to customize it
Kanban Board Landing Page

- Upon clicking the kanban board view on the left, you will be placed on a screen with various categories for feature status shown on the top header.
- You will also find the components that make up your product below the categories.
- Any end dates for features, labels, and people working on the feature will be easily visible. You will find them displayed prominently on the kanban board.
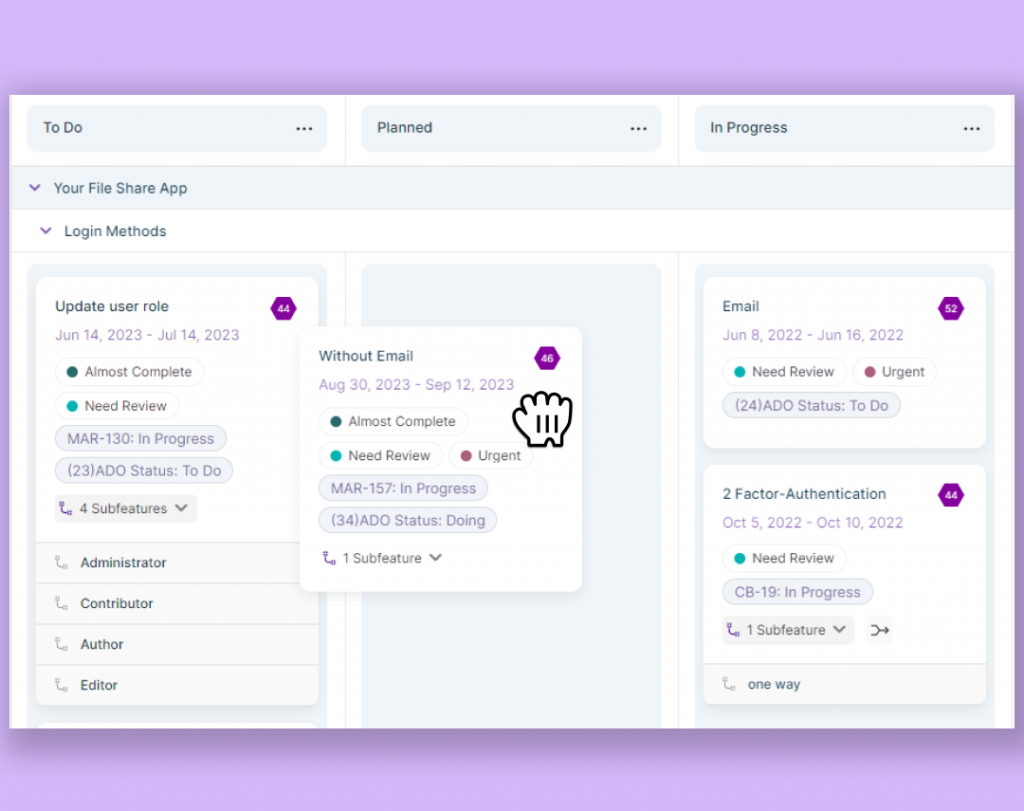
- If you want to swap the status for a specific feature or initiative, all you need to do is drag the feature to a new status.
- Clicking on a feature will result in the side panel with the same functionality as the one in the treeview and the Kanban view.
Adding a Kanban Status
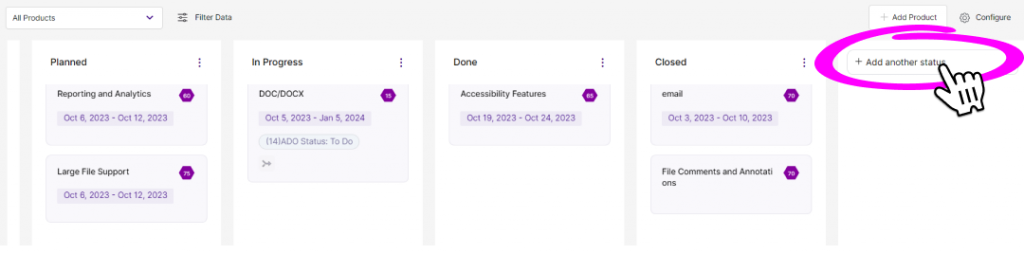
- You can add status by clicking on the ‘Add another status’ button at the top next to all the current releases.
- Once you do, a text field will appear, letting you type the release’s name.
- Once you choose a name, hit Enter and the kanban status will be finalized.
Rearranging a Kanban Status
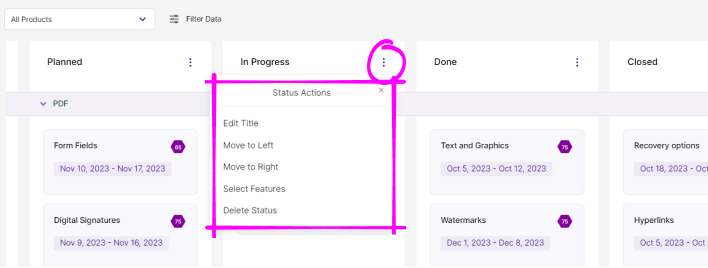
- You can rearrange your kanban statuses after adding them to your kanban board view.
- To rearrange your kanban statuses, click on the ellipsis of the status you wish to move.
- Status Actions appear.
- Now, click on the ‘Move to Left’ or ‘Move to Right’ option per your requirements. You will be able to view your desired action on the kanban board.
Related Articles: