How to Use User Surveys?
Chisel’s surveys were done to let you seamlessly get feedback on your product from your target audience in order to let you get back to designing amazing products more quickly.
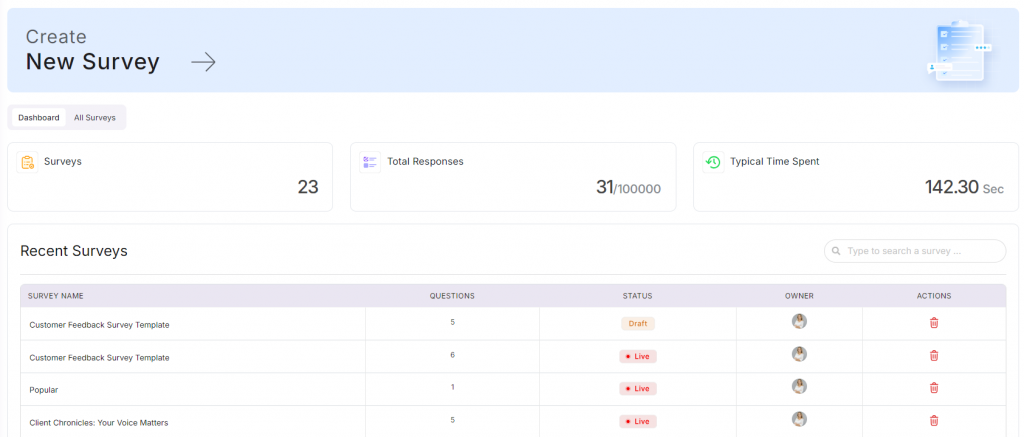
Survey Landing Page
- Click on User Survey under the Discovery pillar in the left navigation bar.
- The survey landing page consists of two different elements.
- At the top are three statistics(total surveys in your repository, total number of responses, and the total time spent by the user on the surveys) about your recent surveys.
- Below, you can see recent surveys you have created.
- You can also switch to a view that shows you all the surveys you have ever created by clicking on the “All Surveys“ button at the top.
Creating a Survey
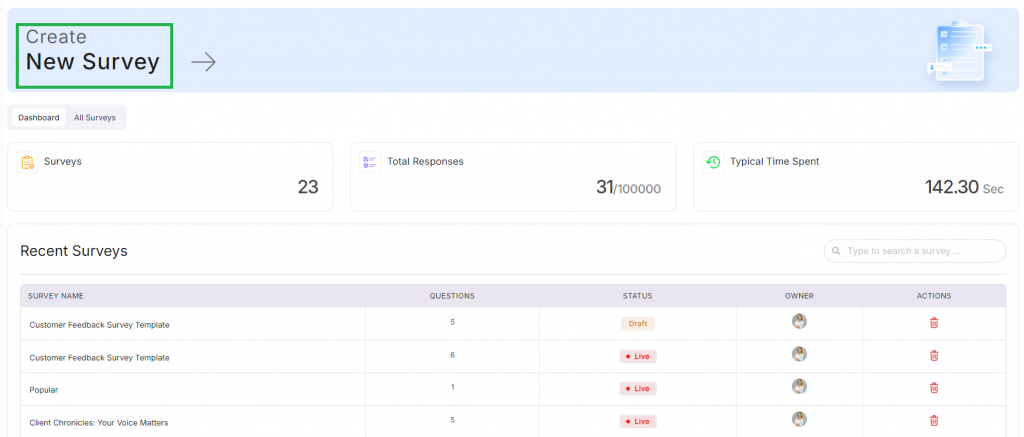
- To create a survey, click on the “Create New Survey“ button at the top of the screen or below your recent surveys.
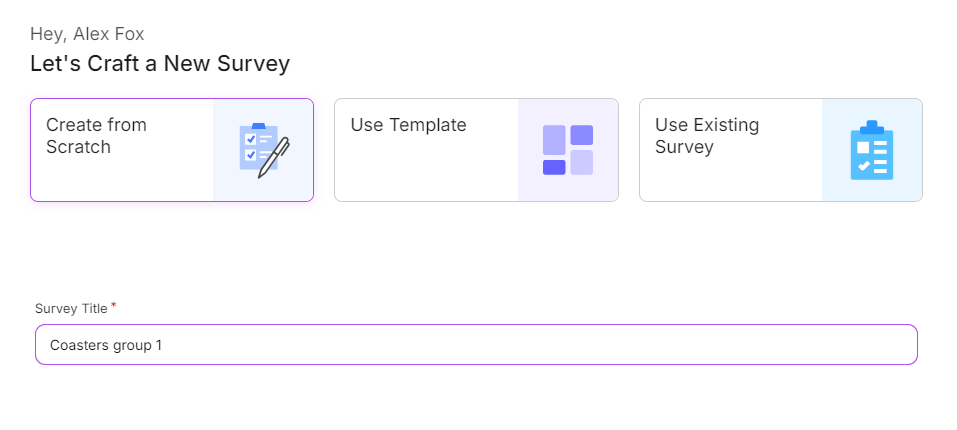
- Once you do that, you can now craft your survey by choosing the three options:
- Create from Scratch
- Use Template
- Use Existing Survey
- If you click on the ‘Start from Scratch’ option, a popup will appear letting you enter a name for the survey as well as a description.
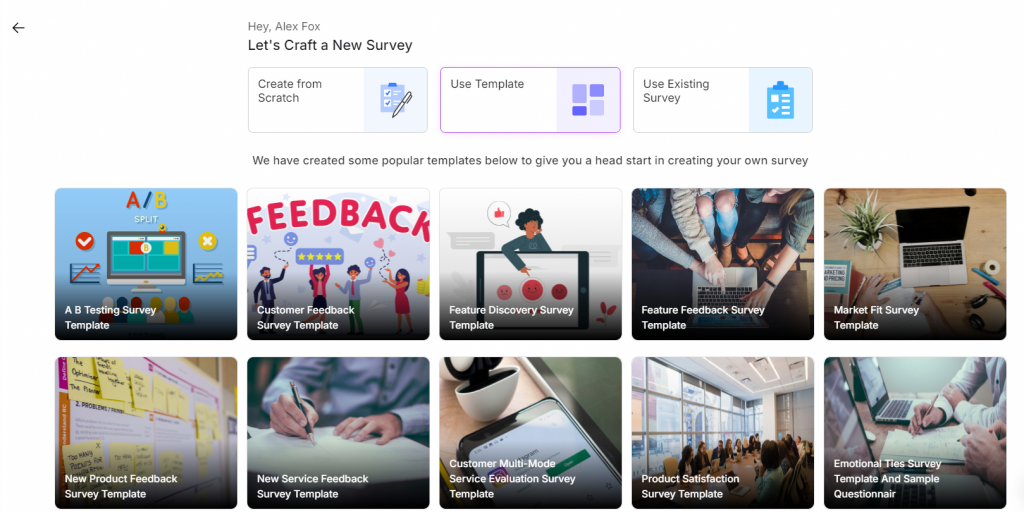
- If you select ‘Use Template,’ you will be shown various templates from which you can choose.
- If you select ‘Use Existing Survey,’ you will be shown your existing surveys and will be given the opportunity to select one, and a duplicate survey will be created with all those questions.
- Once you choose the way you want to create a survey, you will be brought to that survey’s dashboard.
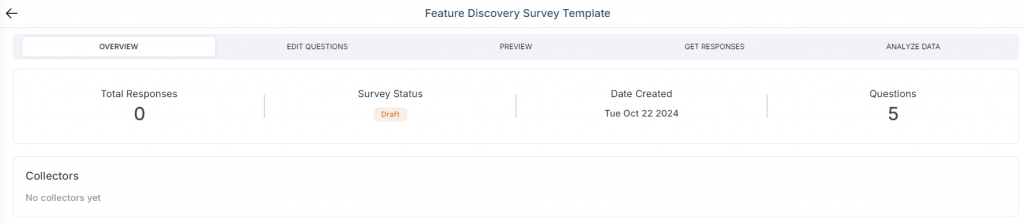
- Here you will be able to see more information about it, including its status (if the survey is open or closed for collectors), the number of collectors the survey has, the number of responses the survey has, the number of questions in the survey, and the date the survey was created.
- You can also change what part of the survey life cycle you would like to be on, ranging from the survey overview you were previously on to the “Edit Questions,” “Preview,” “Get Responses,” and “Analyze Data” screen.
Edit Questions
- In order to edit questions, you first need to navigate to the “Edit Questions” part of the survey lifecycle.
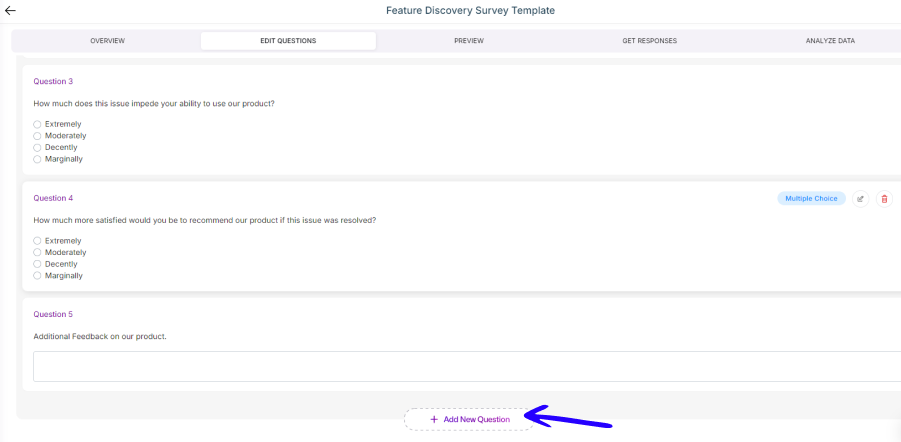
- Once you do that, you can add a question by clicking on the ‘+Add New question’ button at the bottom of the screen.
- Once you do that, you will be presented with the edit question screen.
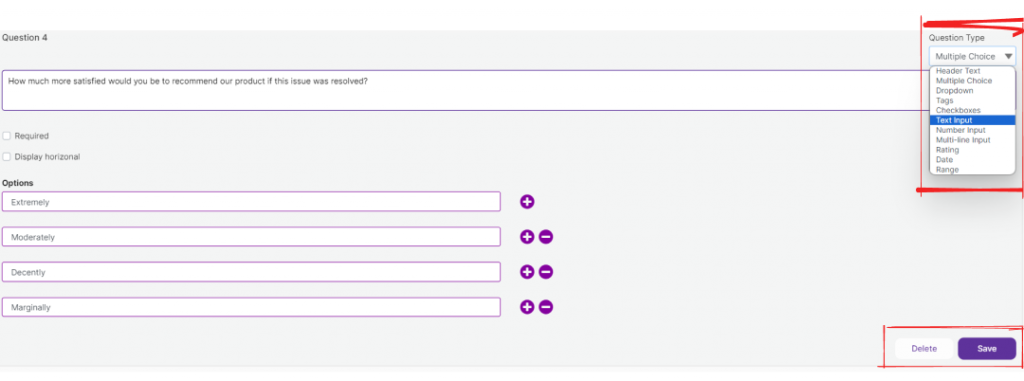
- Here, you can choose the question type and other parameters about the question.
There are various types of questions you can choose from
- Header Text – This is good for adding extra information/context to sections of questions.
- Multiple Choice – This is good when there are certain preselected answers that you think should cover all answers.
- Dropdown – Like multiple-choice but useful when there are a lot of answers and you want to preserve space.
- Checkboxes – Like multiple choice, but you want users to be able to select multiple answers.
- Text Input – This is good for instances when you want users to input text as opposed to a pre-curated answer.
- Number Input – This is good for when you want users to input a number of their choice for the answer.
- Multi-Line Input – Like text input, but when the answer should span multiple lines.
- Ratings – This is good for instances where you want a rating of something on a 1 to 5 scale.
- Date – This is good when you want the user to input a specific date.
- Range – This is good for when you want to provide the user to select a point on a slider for the answer.
- You can also bring up this screen on existing questions by clicking on the pencil mark next to existing questions.
- You can delete questions by clicking on the trashcan next to a question.
- You can rearrange questions by dragging them above and below other questions.
Preview
The preview screen lets you see how your survey will look when loaded up on different devices.
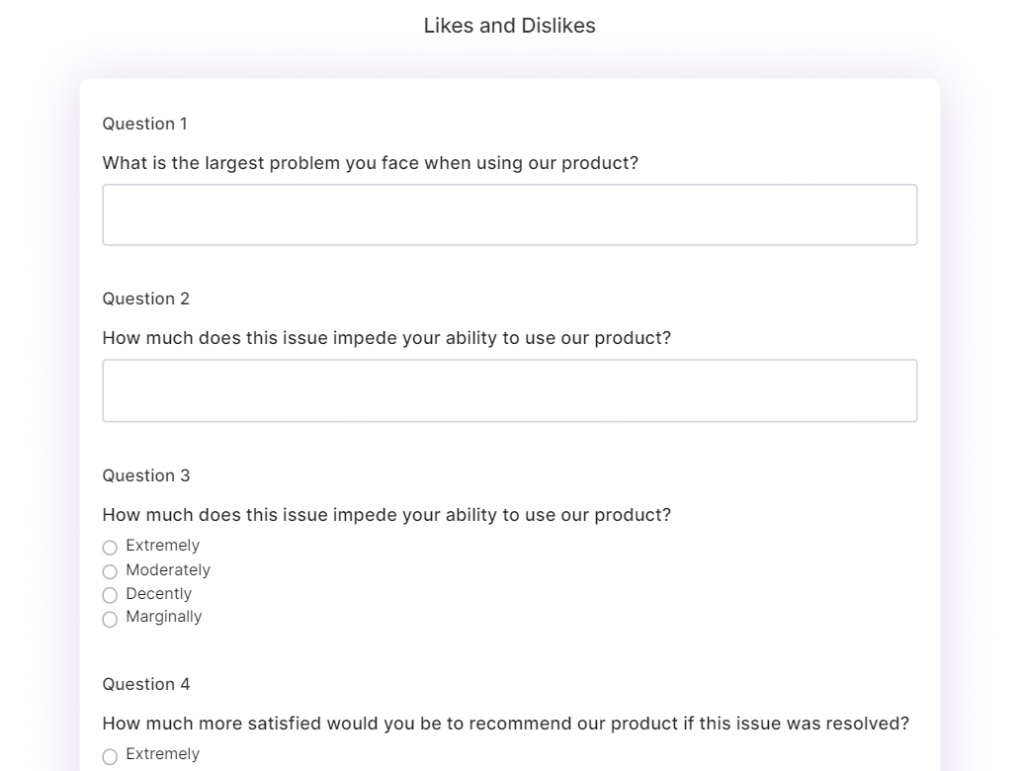
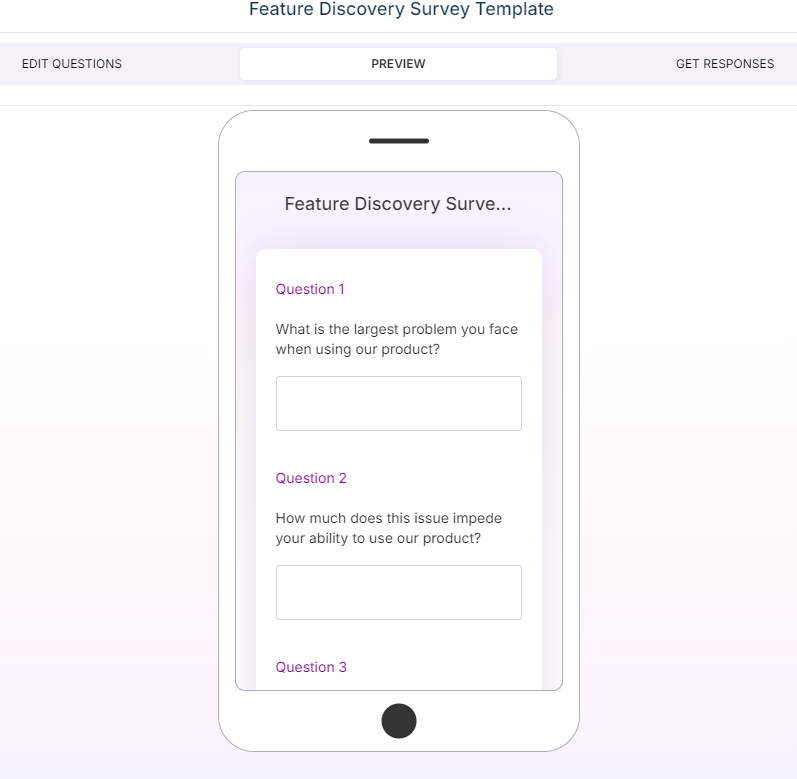
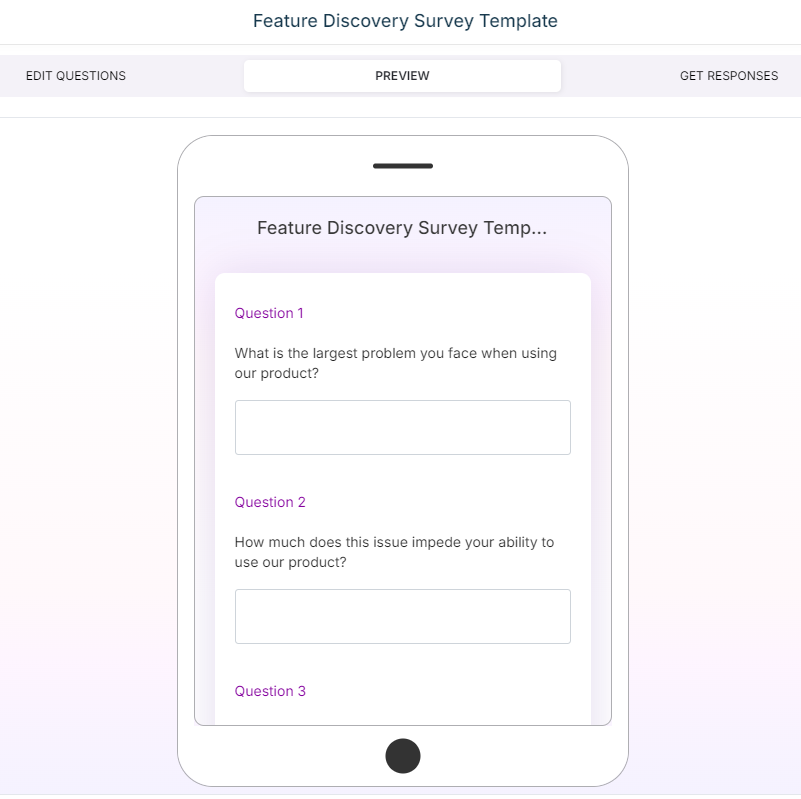
You can easily switch between desktop, mobile, and tablet. In order to do so simply click on the correct view on the top of the screen.
Get Responses
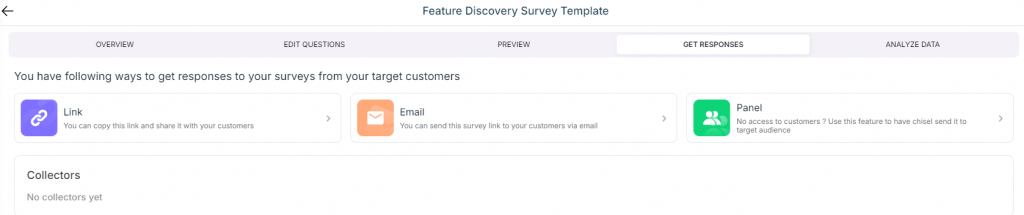
- You can open a collector for a survey here by clicking on the type of collector you would like.
- There are currently three different options: ‘Link,’ ‘Email,’ and ‘Panel.’
- ‘Link’ produces a URL that anyone can go to and complete the survey. ‘Email’ lets users send an email out to their contact list and the ‘Panel’ option sends it to a target audience panel.
- If you click on the ‘Link’ option, you will be brought to this screen providing more information.
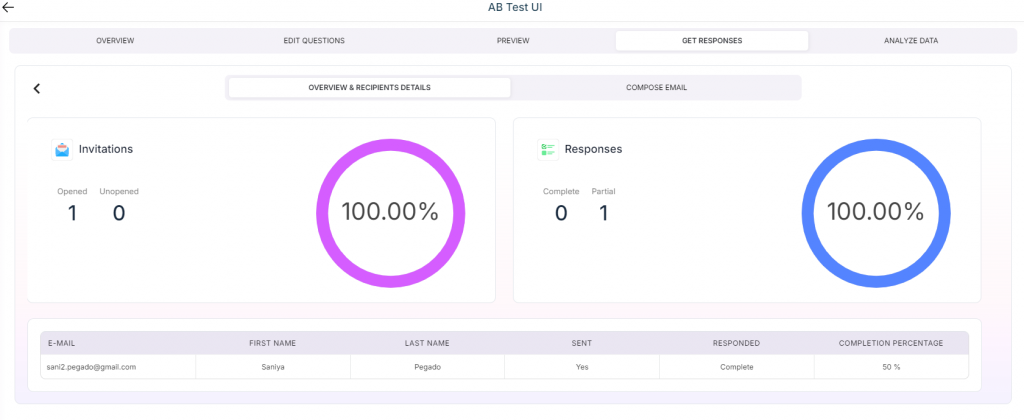
- If you click on the ‘Email’, you will be brought to the email landing page screen.
- On this screen, you will be able to quickly see all the emails sent out and who has completed the survey from them.
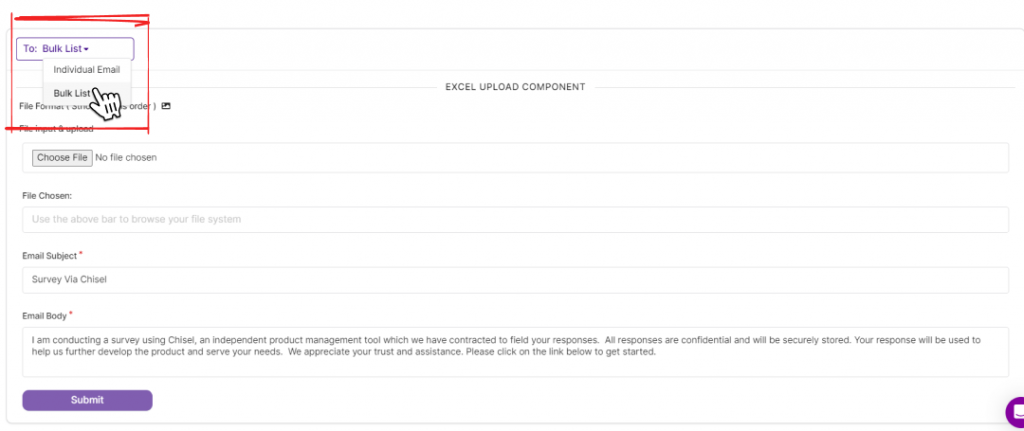
- If you want to send out an email, you can either use the bulk email configuration if you would like to send out emails to a lot of people at once or the individual configuration if you would like to tailor a specific email.
- If you click on the bulk email screen, you will be brought to this screen.
- If you would like to send out a bulk email, you will need to upload a file that follows the Email. First Name, Last Name, and a custom message to send out to all the emails.
- If you click on Individual Email configuration, you will be brought to this screen which is similar but instead of uploading a file, you can just enter the information onto the webpage.
- If you click on Panel, you will be brought to the audience screen.
Analyze Data
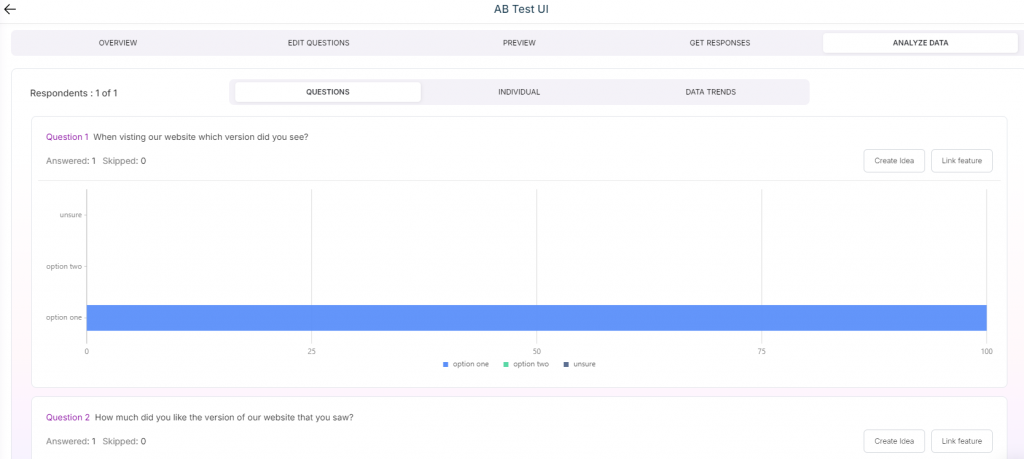
- The “Analyze Data” has three different screens:
- Questions breakdown, which shows you the responses to individual questions. From here, you can also create a new idea or link a feature.
- Individual responses show you how a specific respondent answered the survey.
- Data Trends show you generalized overviews of your responses.