How to Configure Organization Custom Fields and Show Salesforce Details
Requirements:
To get started, you will need the following:
- A Chisel account with maker permission
- Attributes from Salesforce
Note: A Chisel account with contributor access can’t proceed with any integration process. Learn more about the Chisel user roles.
- Click on ‘All Configurations’ under the ‘workspace‘ pillar on the left navigation bar.
- You will see a screen that shows you all the Configurations.
- Next, click the ‘Other Fields’ button to redirect you to map the custom fields.
- Click on the Configure button to add, remove, or configure custom fields corresponding to your organization based on your use case.
- Here, you can select attributes and add them to your organizations.
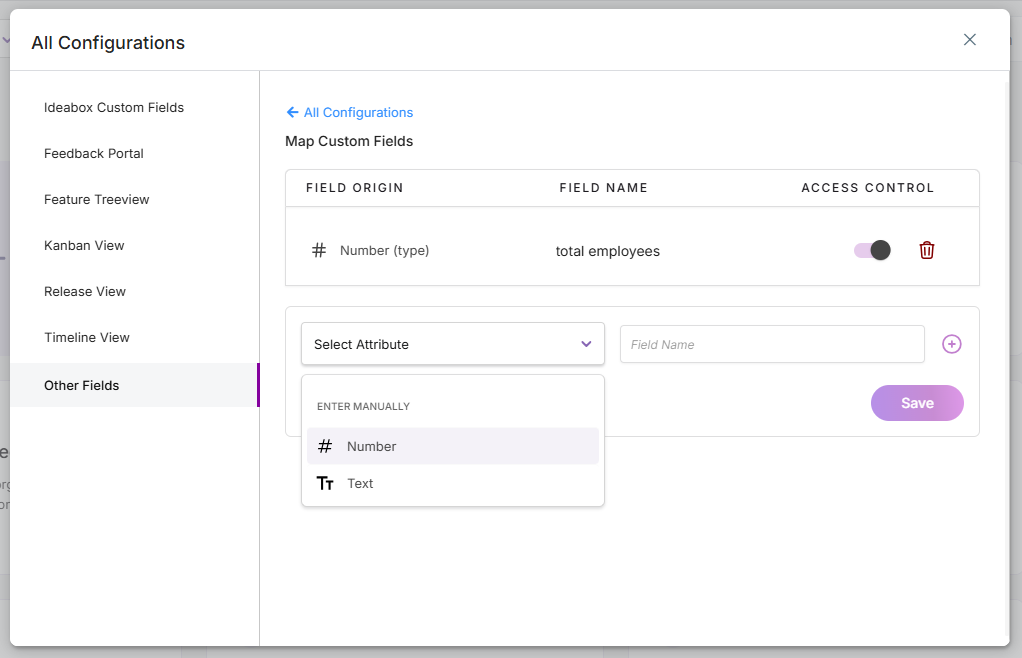
- Expand the ‘Select Attribute’ box.
- If you’ve added the attribute from the salesforce, scroll down and select the attribute accordingly.
- However, if you wish to add an attribute manually, then select the number or text as per your requirement.
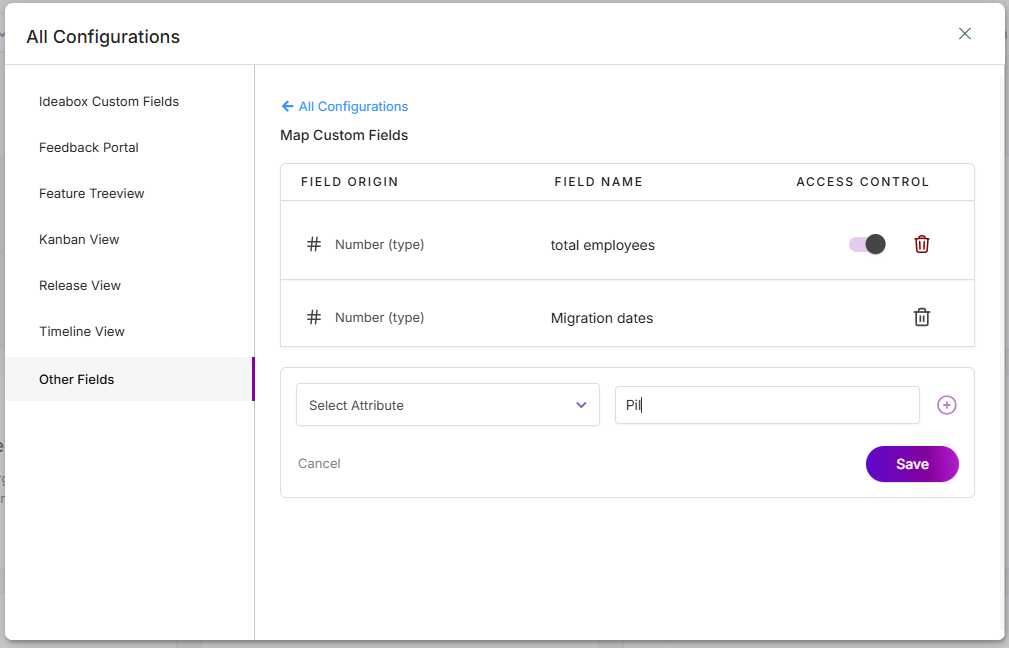
- Give the field name in the given box. This name will appear in the Idea Box’s side panel under the field category.
- Finally, click the ‘Add’ and ‘Save’ buttons to record the changes in your IdeaBox.
- There is also an ‘Access Control‘ button that you can use to make the fields visible and invisible to makers and non-makers. Toggle on and off the button to make changes to the custom fields visibility.
- Delete the custom field by clicking on the ‘Delete‘ icon and the ‘Save‘ button.
- However, if you click on the ‘Delete’ icon and decide not to delete the field, simply click on the ‘Restore‘ button.
- Now to view and input data to the custom fields, go to the IdeaBox side panel.
- Click on the organization you’ve selected, and viola! Add users or view fields easily.
Related Articles: