How to Invite Other Users on Chisel
This article includes:
How to Access Team Settings
You can invite other users to your Chisel workspace by following the simple steps below.
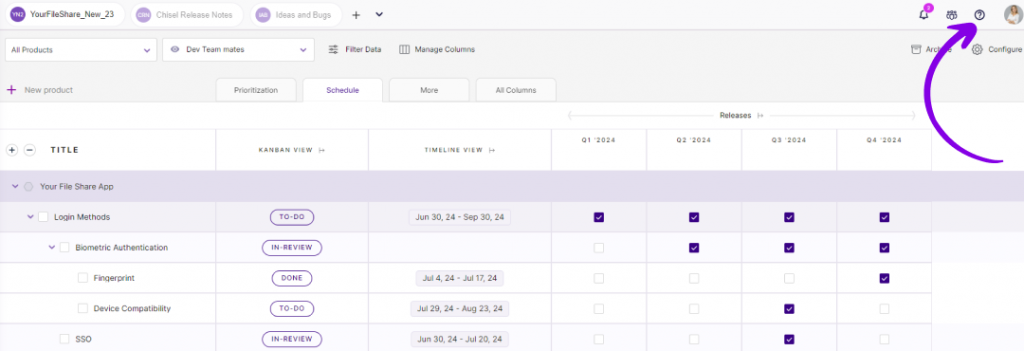
- On the top-right corner of the workspace, click on the ‘Team Settings’ icon.
- Once you do a popup with the invite teams the display of your teams will be visible.
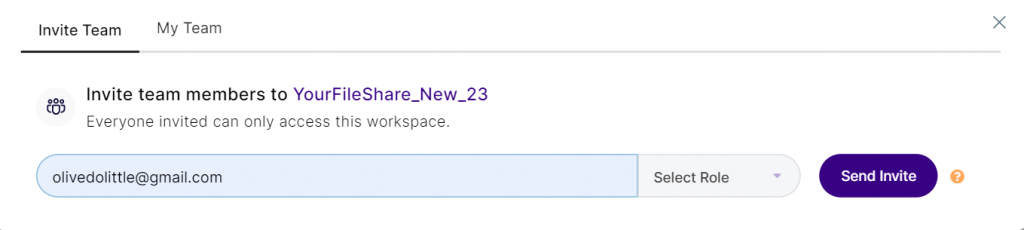
- Click on ‘Invite Team’ button.
- Here you can enter the details such as the email of the new member and their role as either maker or a contributor.
- Once you have entered the details of the new member, click on the ‘Send Invite’ button.
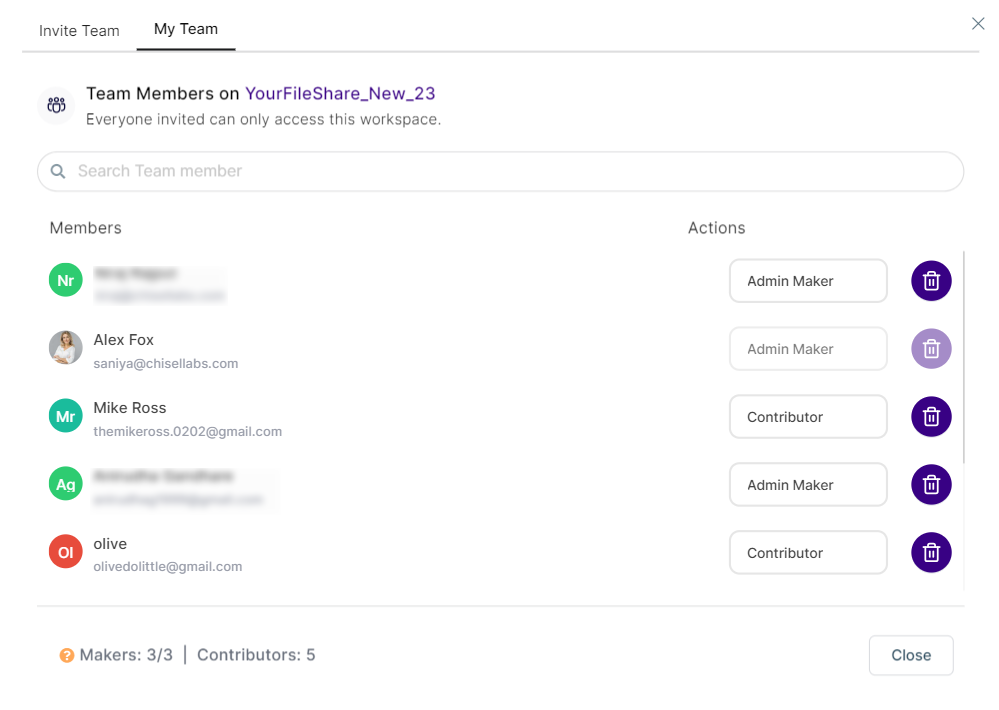
- Now the name, along with other details of the member, shall get added to the ‘My Team‘ list.
- The new member will then get an email notification to “Register for Chisel.” In order to join the workspace, the user can ‘Accept the invite,’ which will let them play an active role as a team member and contributor accordingly.
Chisel User Roles
We have three kinds of roles under chisel roles: Admin Maker, Maker and Contributor.
To get an in-depth view of all three roles, read chisel user roles.
Admin Maker:

Admin maker is a role suited for product leaders and champions who have administrative control over the Chsiel workspace and the other maker functionality.
They can take the lead on thoroughly editing product roadmaps, managing integrations and feedback portals, etc.
Maker:

A maker is a team member with full access to the workspace and the other functionalities of the product.
As a maker, you get full editing rights across all three pillars of Chisel: Roadmap, Team Radar and Product Feedback.
Contributor:

A contributor has only restricted access to Chisel’s functionalities.
Contributors can provide suggestions on features, make comments, and so forth.
Further Read: Contributor Abilities in Chisel