HubSpot Integration via Zapier
If you’re already using HubSpot to capture feedback, Chisel’s HubSpot integration via Zapier is the perfect tool you can use to import the data into Chisel.
In this case, we will import ideas via a new custom property in Contacts in HubSpot.
Requirements:
To get started, you will need the following:
- Chisel’s premium account with Admin maker rights
- A HubSpot account
- A Zapier account
Note: A Chisel account with contributor access can’t proceed with any integration process. Learn more about the Chisel user roles.
Creating a New Custom Property in Hubspot
Here we will create a new custom property in contacts which, when updated for the first time, a new idea will be created in the Idea box and will stay in sync.
- Log in to your HubSpot account.
- Go to the contacts tab on the top left corner of the page. Here select, Contacts from the options.
- Click on any contact to open the contact.

- To add a new property, go to Actions > view all properties > manage properties > create property > add basic info such as object type and group, and give the name of the property in the label box.
- Press the Next button.
- Select the field type as multi-line text > click on Create.

- Also, make sure to add the property to ‘Add to your view‘ under the ‘All Properties‘ category.
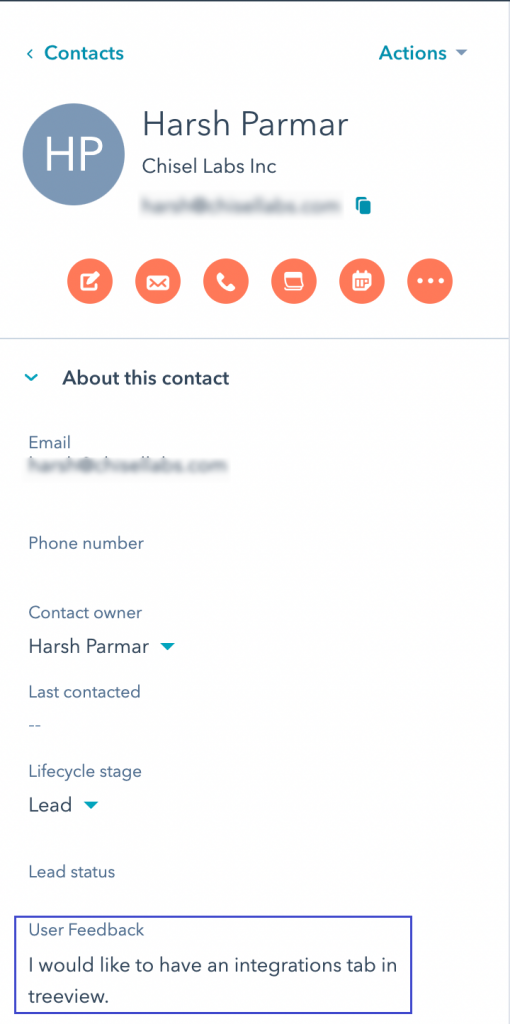
- In a particular contact, add your ideas/feedback in the property.
- Click on Save, and it will reflect in your Chisel Idea Box tool after the integration is set up completely.
Onto Zapier
To begin with, login into your Zapier account by navigating to: https://zapier.com/app/login
Basics of Zapier
Let’s quickly understand the three important concepts related to Zapier:
Trigger
A trigger is something that starts the automated processes between your various apps.
Action
Once you complete the trigger step, the next step is action. Action is something that you want to happen automatically. For example, in this case, an idea is captured in the idea box once someone updates it in HubSpot.
Zap
When your trigger causes an action, it is called Zap.
Creating the Zapier Trigger
1. Trigger
Choose an app and event
- Open the dashboard and click on ‘+ Create Zap.’
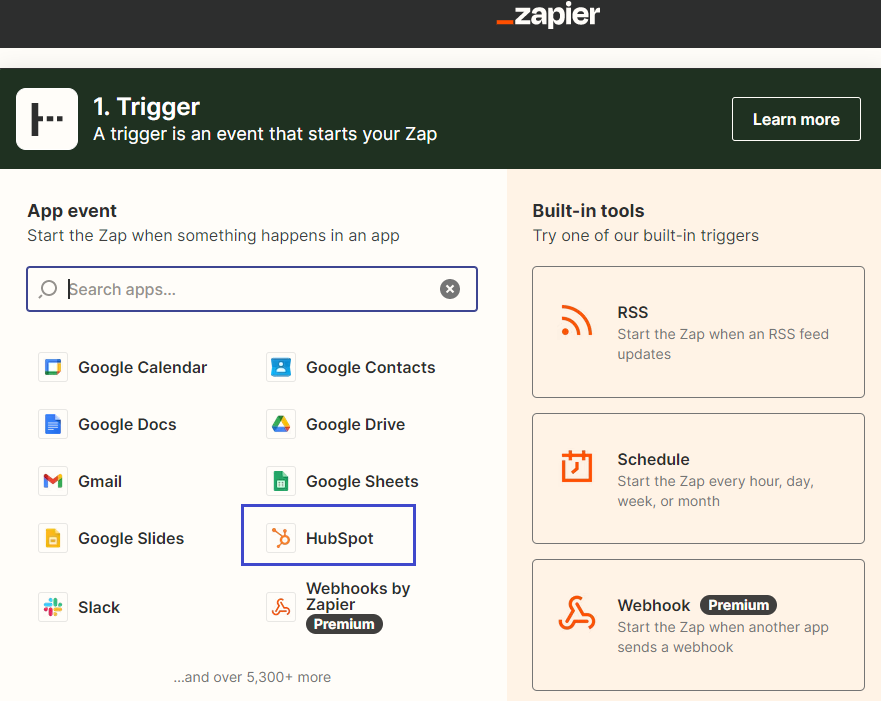
- Add the app event in the box as HubSpot.
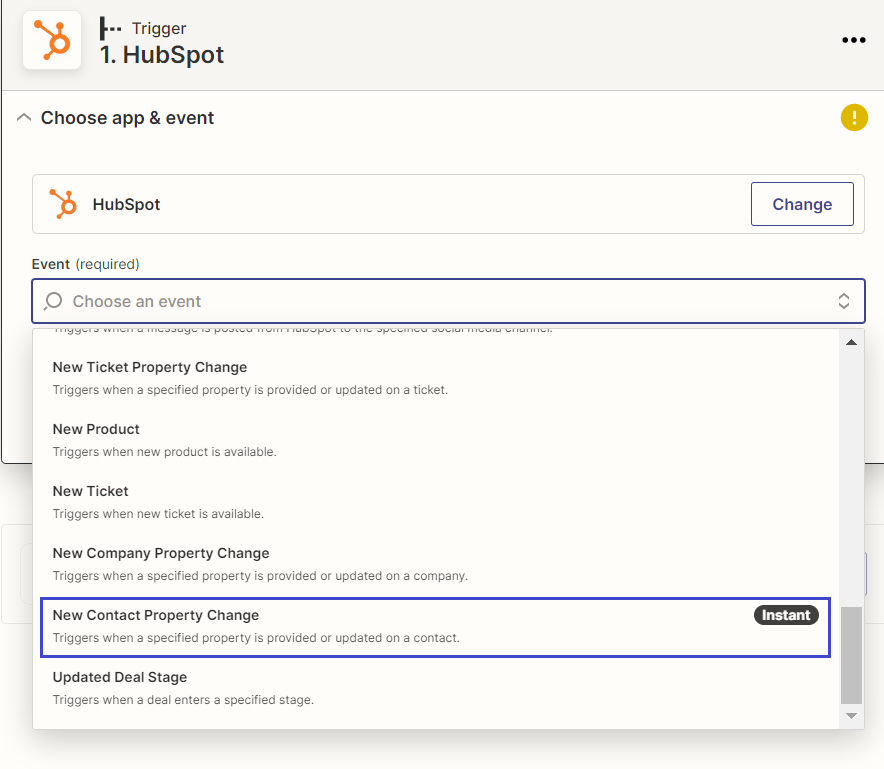
- Add ‘New Contact Property Change‘ in the Event box.
- Once you have selected the Event, click on Continue.
Choose account
- You can choose the HubSpot account from the options if you’ve already connected one.
- In case you haven’t, click on ‘+ Connect a new account.’ You’ll be redirected to the HubSpot login page.
- Add in the necessary information, and you’re good to move ahead.
- Click on Continue.
Set up trigger
- Select the necessary HubSpot Property Name from the options. For example, Contact Information: User Feedback.
- In the Additional Properties to Retrieve box, select the same option as above.
- Click on Continue.
Test trigger
- Click on the Test trigger button. Here you need to make sure you choose the correct HubSpot contact.
- Check all the necessary details like email, name, and property.
Pro tip: Even if you refresh the page, your draft will be saved in Zapier.
Creating the Action
2. Action
Choose app and event
- Choose ‘Chisel’ as the App.
- In the Event box, select the ‘Create Idea’ event. Click on Continue.
Choose account
- Choose the Chisel account you’d like to connect from the options. If you wish to add a new account, click on ‘+ Connect a new account.’ You’ll be taken to the Chisel login page.
- Add the login credentials, and click on the ‘Approve‘ button to allow access to Zapier to connect with your Chisel account.
- Click on Continue.
The final few steps in Zapier.
Set up action
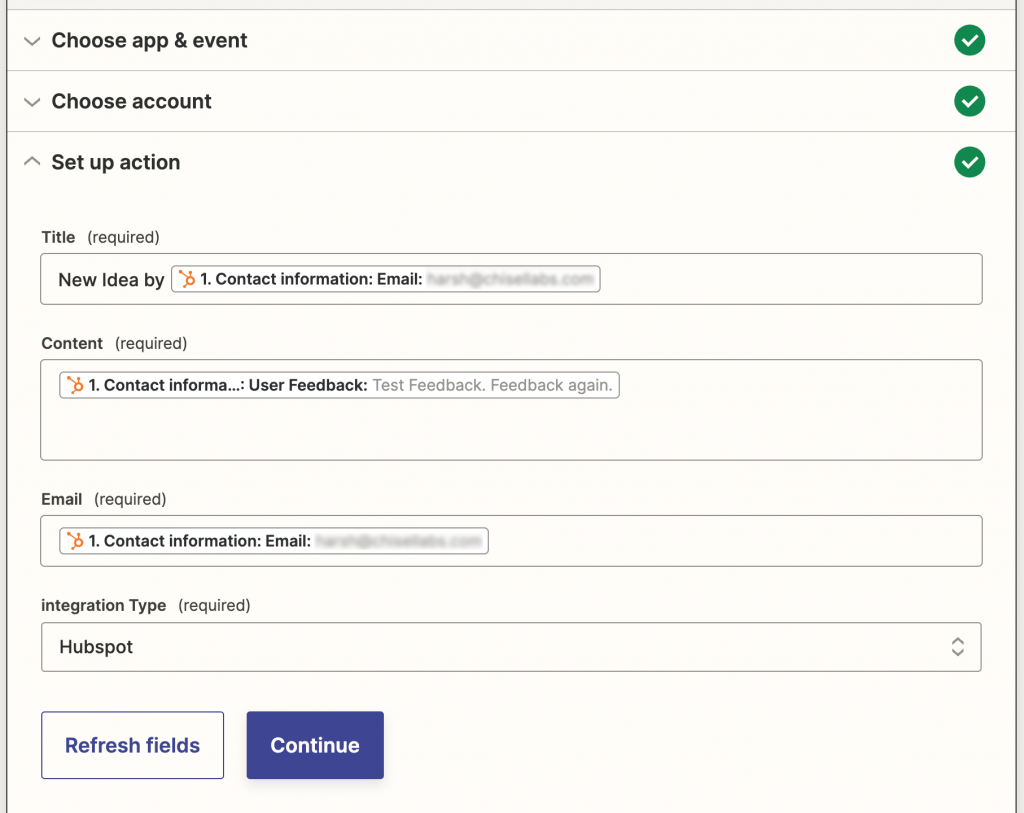
- Add the necessary title, content, email address, and integration type (HubSpot, in this case).
- Click on Continue.
- Select the test and continue button.
- Once you click on Continue, cross-check all the details and hit on Publish Zap.
Congratulations, your Zap has been published!!
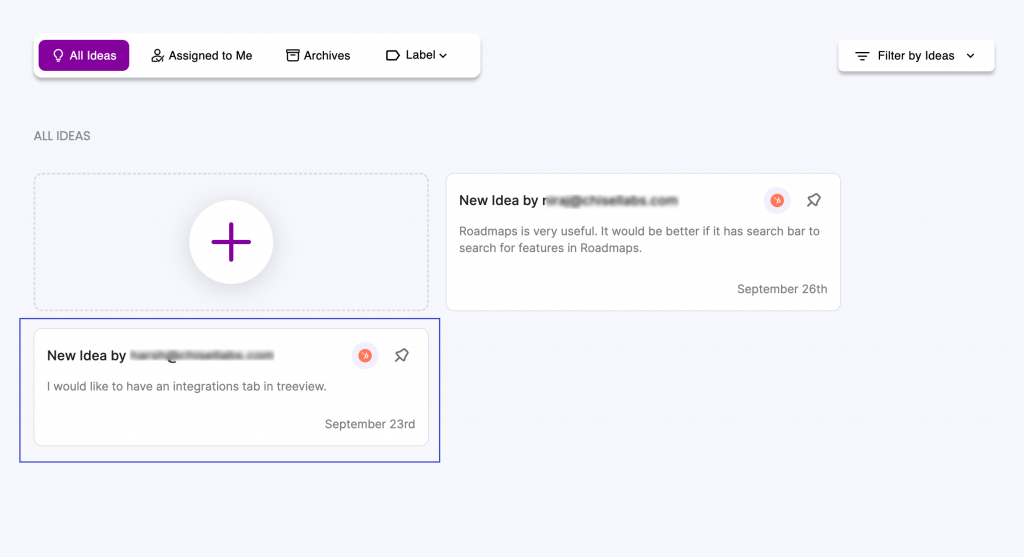
View in Chisel
Whatever feedback you add to HubSpot, Chisel’s integration will allow it to reflect in your Idea Box tool.
Pro tip: Any and all changes you make to the property in HubSpot will auto-update in your idea box tool.