PM Agent Overview
With AI streamlining processes, you, as a Product Manager, must have a powerful opportunity in your workspace to utilize it and uplevel your documentation process. No matter what journey you’re on as a PM, Chisel’s AI tool- the PM Agent- will guide you to take one step further on your way.

What Does a PM Agent Do?
The PM Agent is your assistant for all things you need to thrive in your role as a Product Manager. You can chat and ask the Agent questions and/or create documents from it within minutes. With just a few sentences of a prompt, you can enable this tool to give you precisely what is needed.
From PRDs to GTM plans, from API documentation to release notes, from brainstorming ideas to getting feedback on your roadmap inside Chisel, our PM Agent does all that and much more.
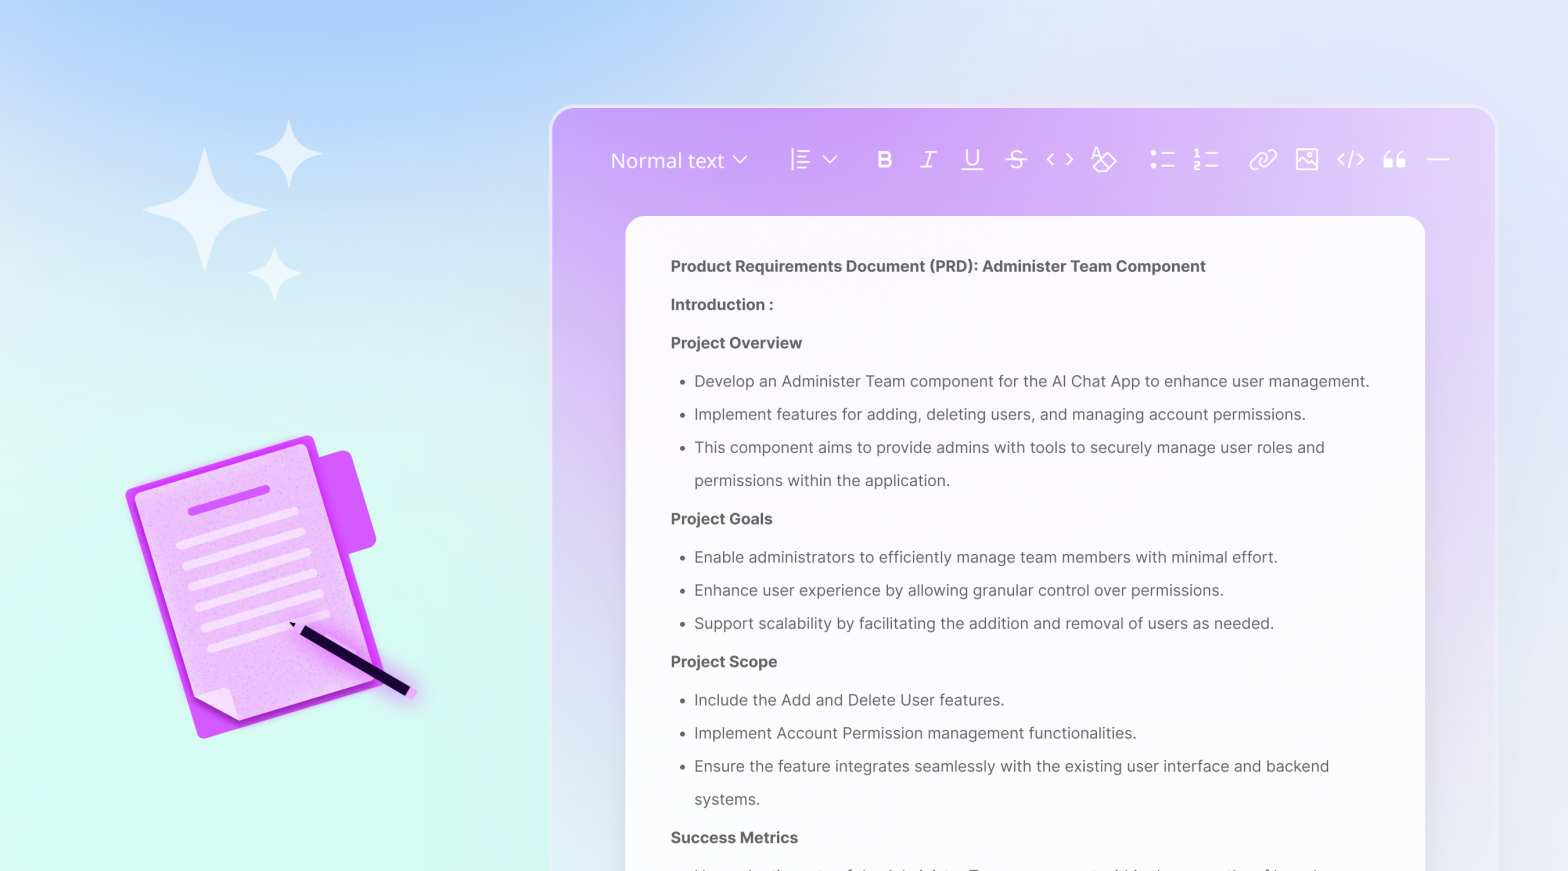
How Do you Chat and Create PM documents Using the PM Agent?
The four tools under the PM Agent-Home, Chats, Documents, and Templates, will help you with your requests.
You can start a chat by asking simple questions like “What are best practices for onboarding UX in mobile apps?”
Once you have the answer, you might want to convert the information to a document format and then send a prompt like ‘Convert this into a document’ to generate the file.
You’ll have a document that can be saved, edited and exported.
Furthermore, you can access features such as linking the ideas and features to the prompt to get the best out of the document you wish to create.
How to Choose and Create Templates
Exploring the library of templates will help you get started on the PM Agent journey quicker than ever. You simply need to select a template of your choice, and boom! The resulting document will cover all the pointers of the template. You need not worry if the template doesn’t cover a particular section; the edit option always comes in handy.
Don’t feel limited by predefined formats — create custom templates to match your needs. Custom Templates are also available to add/delete/move the sections and create a blueprint exactly as you deem fit.
Need any assistance with PM Agent? Want to know more about using the tool? Get in touch with us at support@chisellabs.com
FAQs about the PM Agent
Is it necessary to have a PM Agent?
Yes, it is! An AI tool, such as the PM Agent, created with much care and attention, elevates your day-to-day experience of working as a Product Manager and ticking all your tasks off the list with efficiency.
Which workspaces have access to Chisel’s PM Agent?
Once you log into Chisel, you’ll have access to the PM Agent to create about five chats. Subscribing to the Starter package allows you to build more documents with chats.
The Enterprise version comes with access to the other pillars, such as Roadmaps and Discovery, which helps you broaden the PM Agents’ usage of linking a feature and an idea and creating a document.