Table View in Idea Box
This article covers:
A table view is necessary to glance at all the details of an idea in Idea Box.
How To Use the Table View
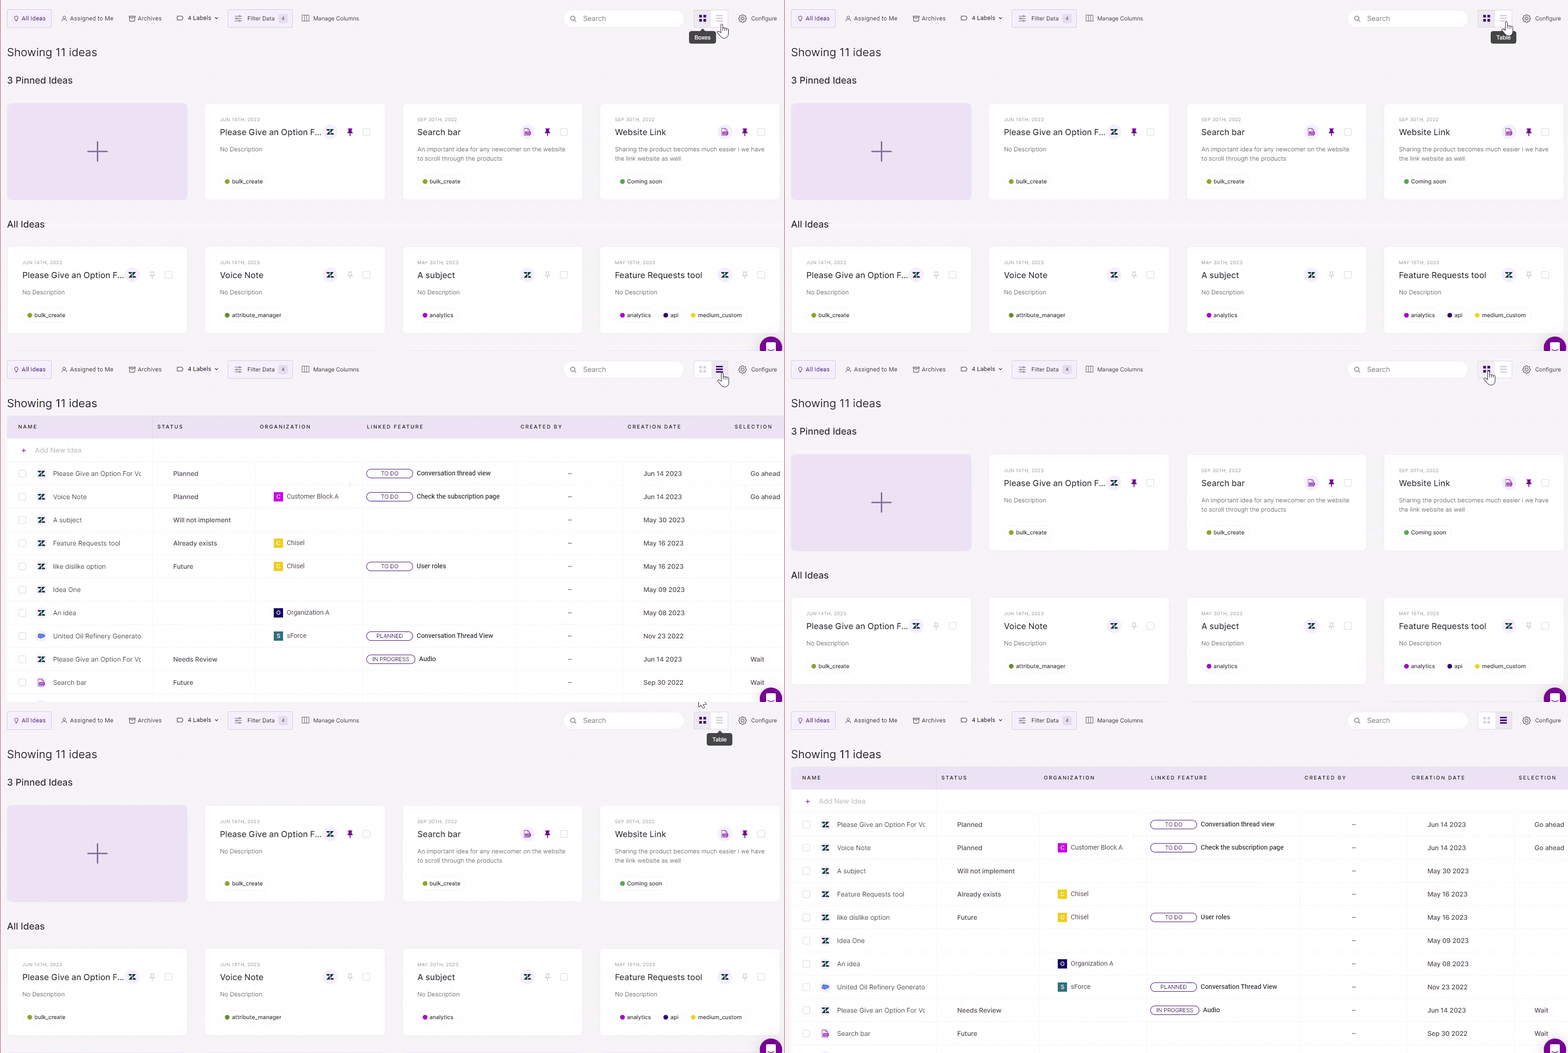
- In Idea Box, switching between the box/card and the table view is easy.
- Simply click on the view (card or table) you wish to see in the Idea Box at the top right corner of your screen.
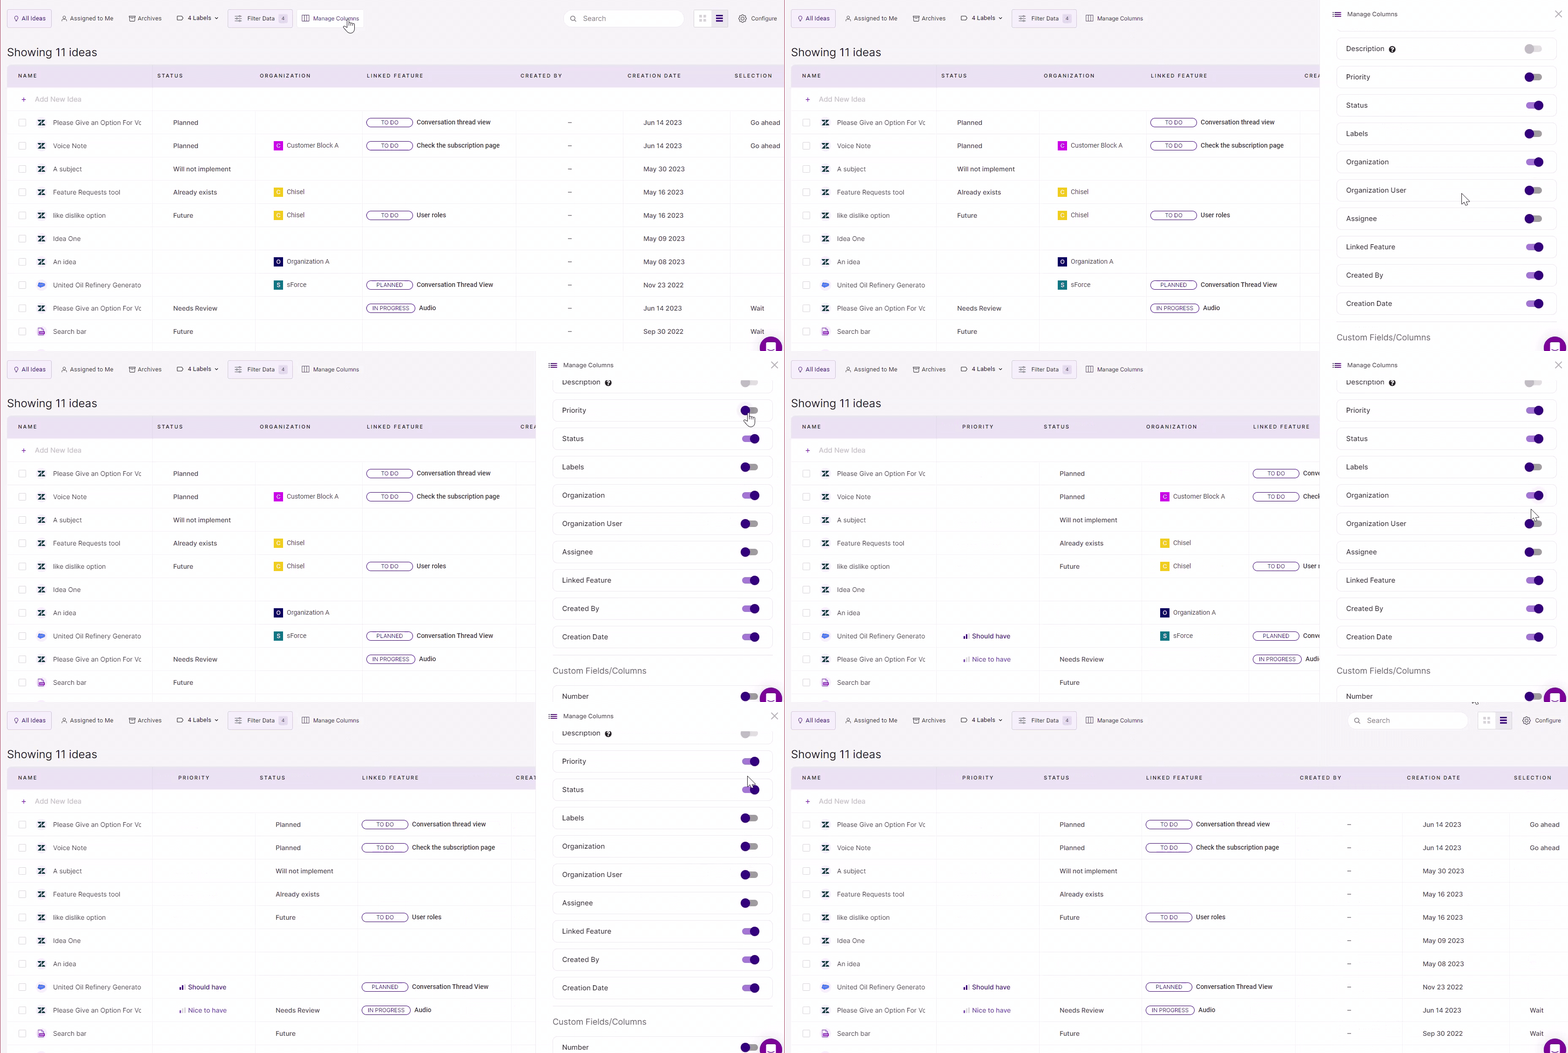
- By clicking on the ‘Manage Columns’ button, you can make changes to the columns in the table view. Toggle off the button next to the column you want to remove for now. Switching on the button enables the column to be visible again.
Any changes you make here won’t reflect in the box/card view.
The name of an idea will always be visible in the table view. Due to the nature of the text, the ‘description’ and the chat transcript will always be concealed from the table view.
Here you can also make visibility changes to your custom fields/columns.
However, do note that hiding columns from the table view will not change the view of the Idea side panel.
In-line Editing
Expanding the side panel is one way to edit the field or ideas. Another way is using the ‘In-line Editing’ feature to change, add or delete the fields quickly.
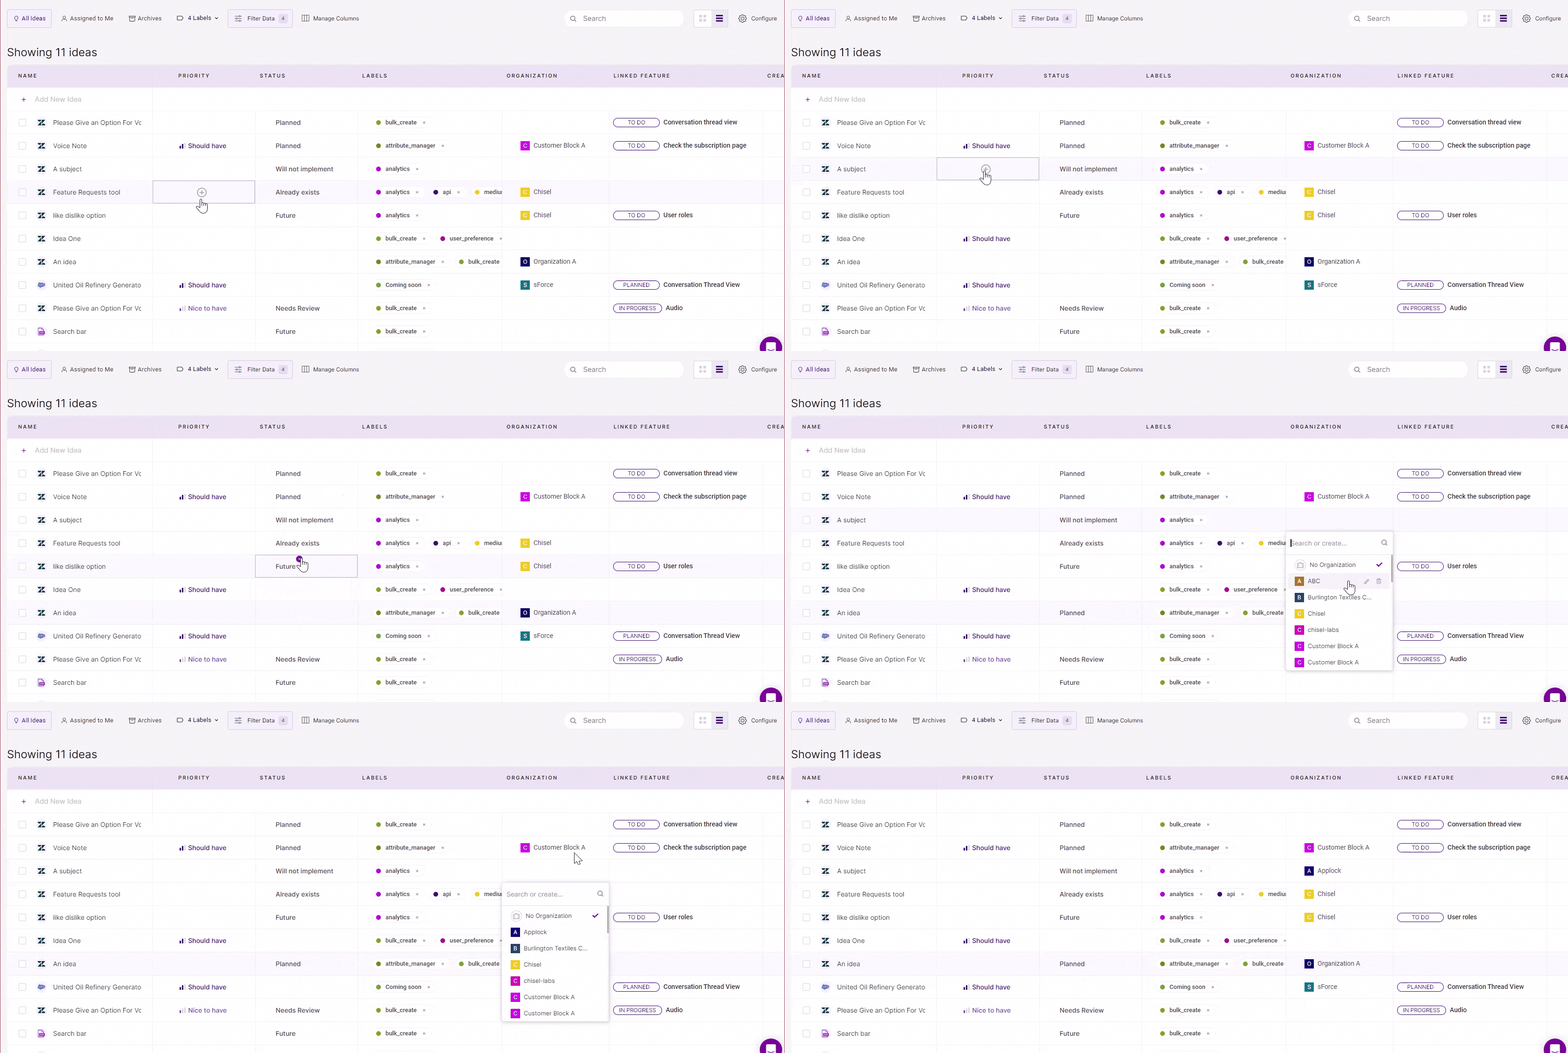
- Go to any field of an idea, click on the ‘+’ icon, and add the necessary details. You can also delete the entry or rename it there and then.
Other Features
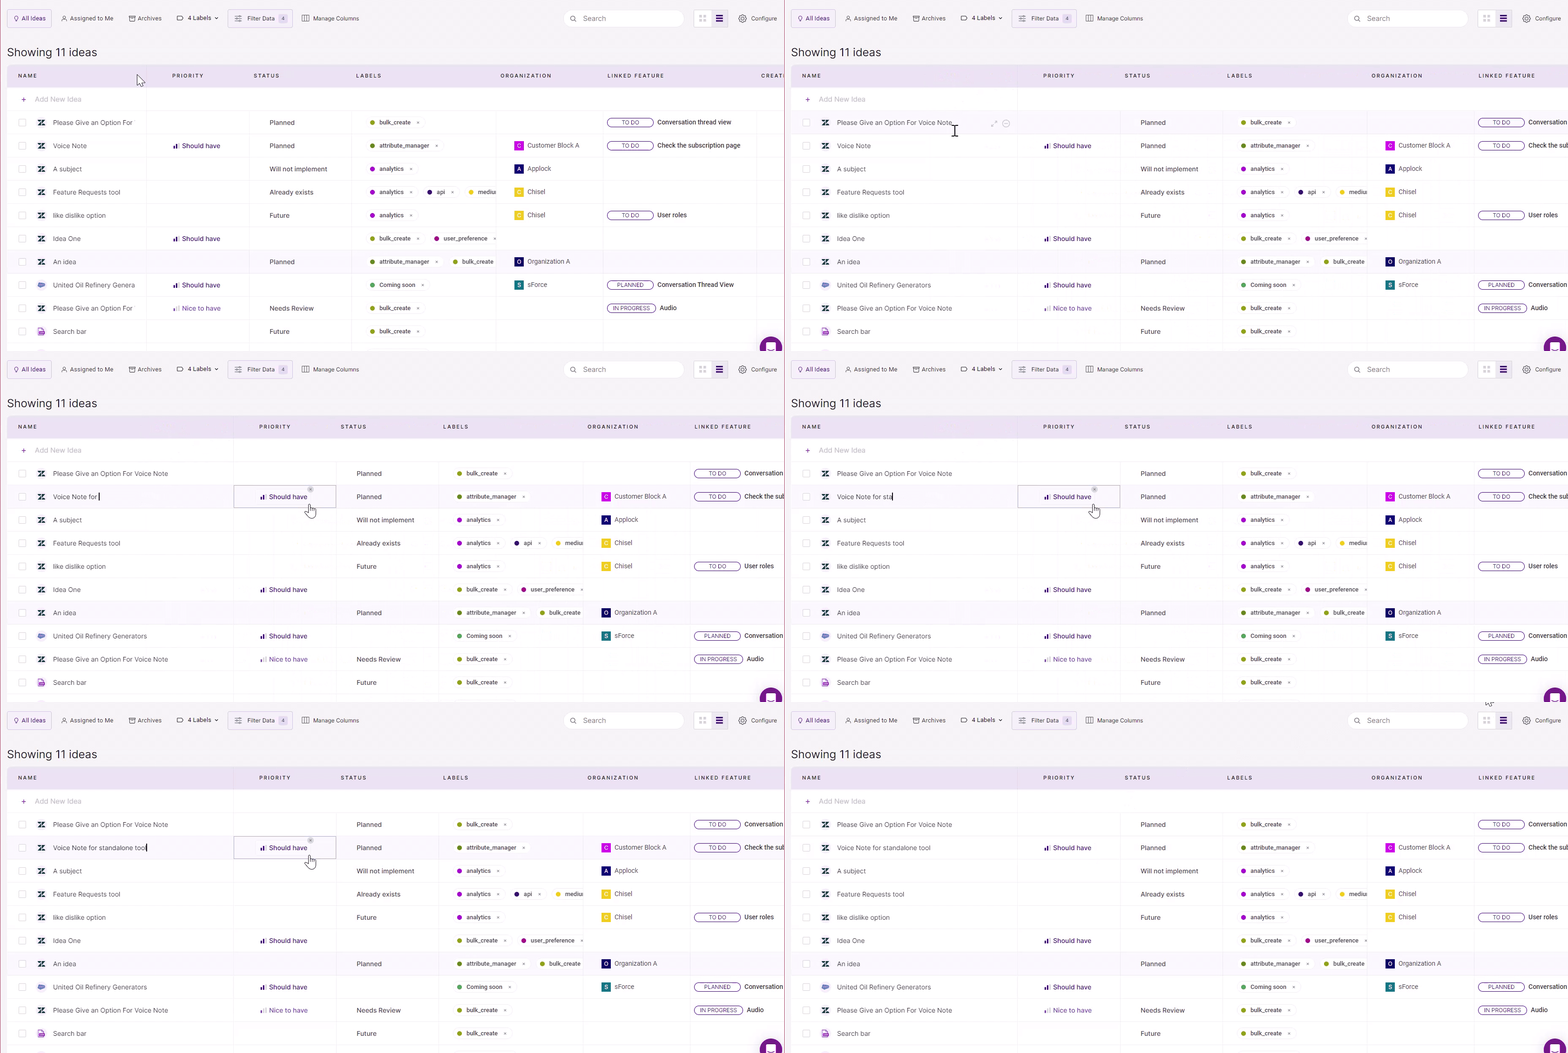
- You can adjust the width of the column with the name of the idea to better view the large texts.
- Add an idea by typing it in the box given and pressing ‘Enter.’
- To change the name of an idea, click on the name itself, type out the new title, and then click on ‘Enter.’
- Expand an idea to view or add the details. Delete an idea by clicking on the delete button.
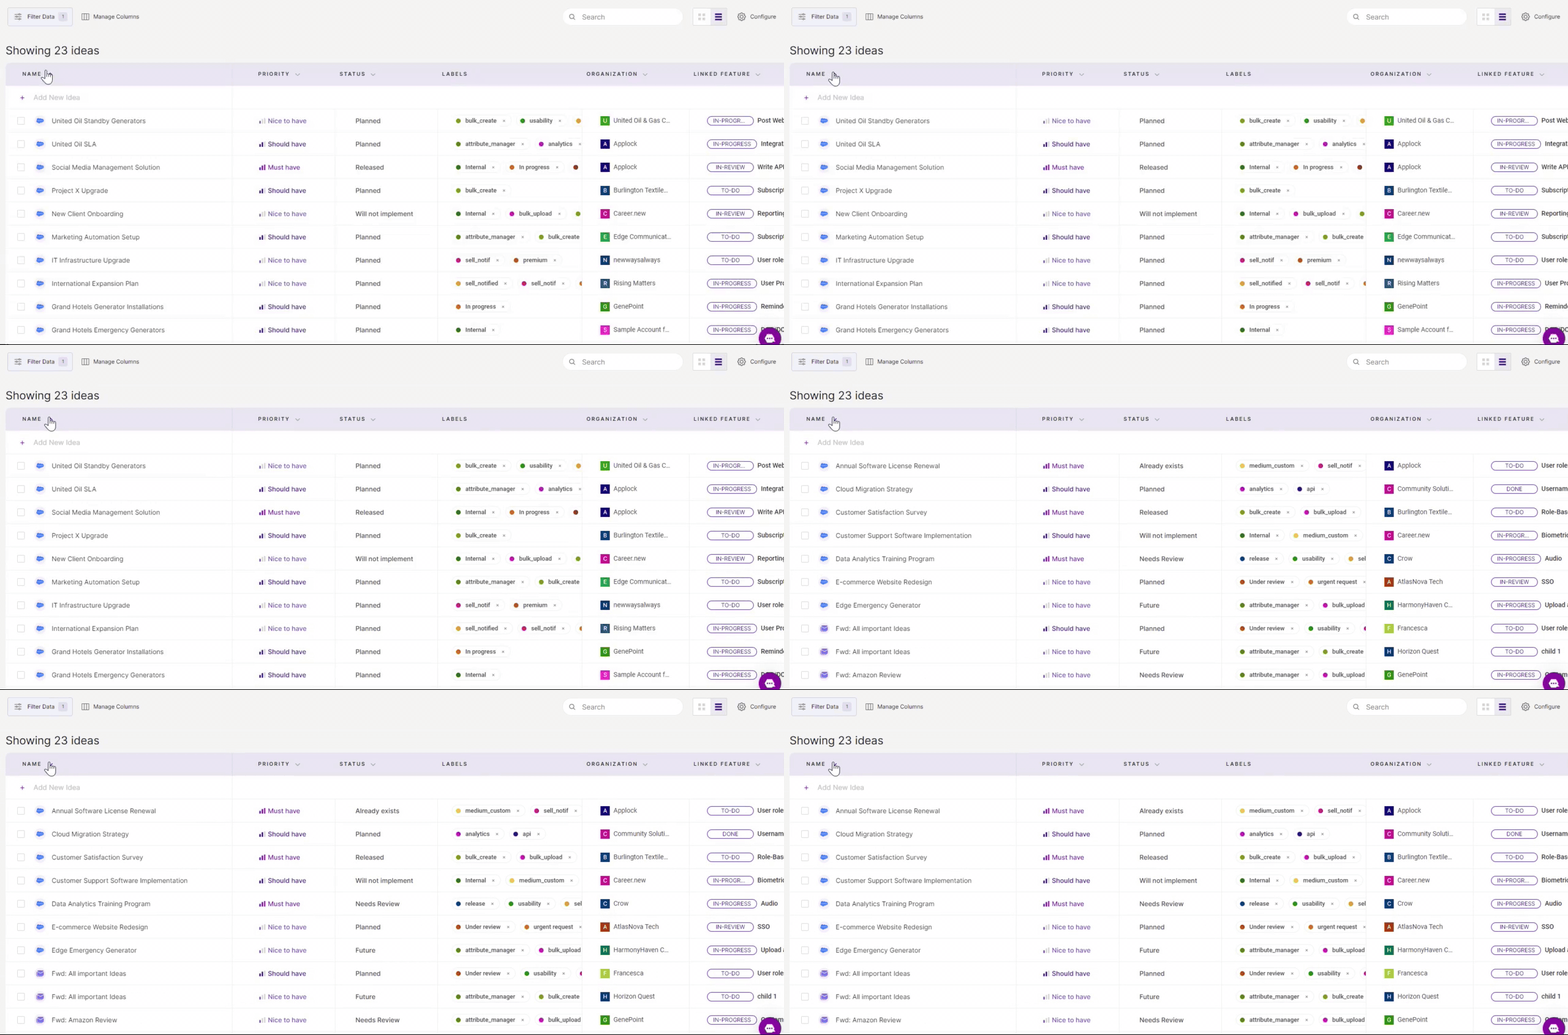
- You can sort the ideas alphabetically and enhance organization, consistency and clarity.
Integration Reference
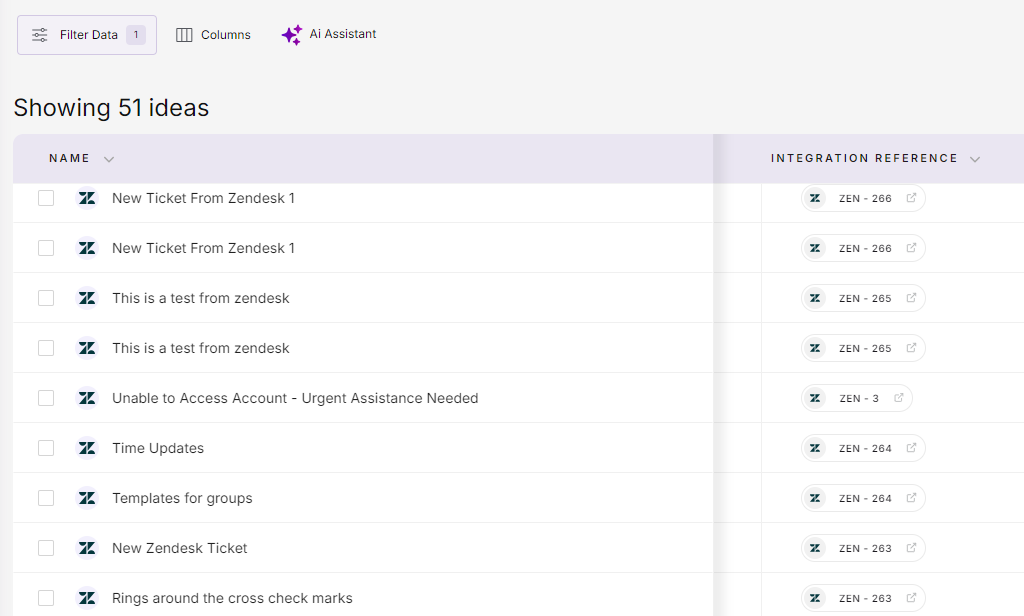
This column lets you jump directly to the tool you imported the idea from, helping you view the details instantly in both tools simultaneously.
Related Articles:
Idea Box Overview
How To Add Custom Fields to Ideas in Idea Box
